The Ultimate Guide to a Hoya Moss Pole: From Plant Selection to Expert Assembly
|
|
Time to read 6 min
|
|
Time to read 6 min
Hey there, plant lovers! Have you ever wanted to create your own DIY Moss Pole but didn't know where to start? Well, you're in luck! This guide will walk you through every step of the way, from picking the perfect plant to putting it all together. So, let's get started on this awesome DIY project!
Check out my YouTube video by following this link to see how I assembled mine.

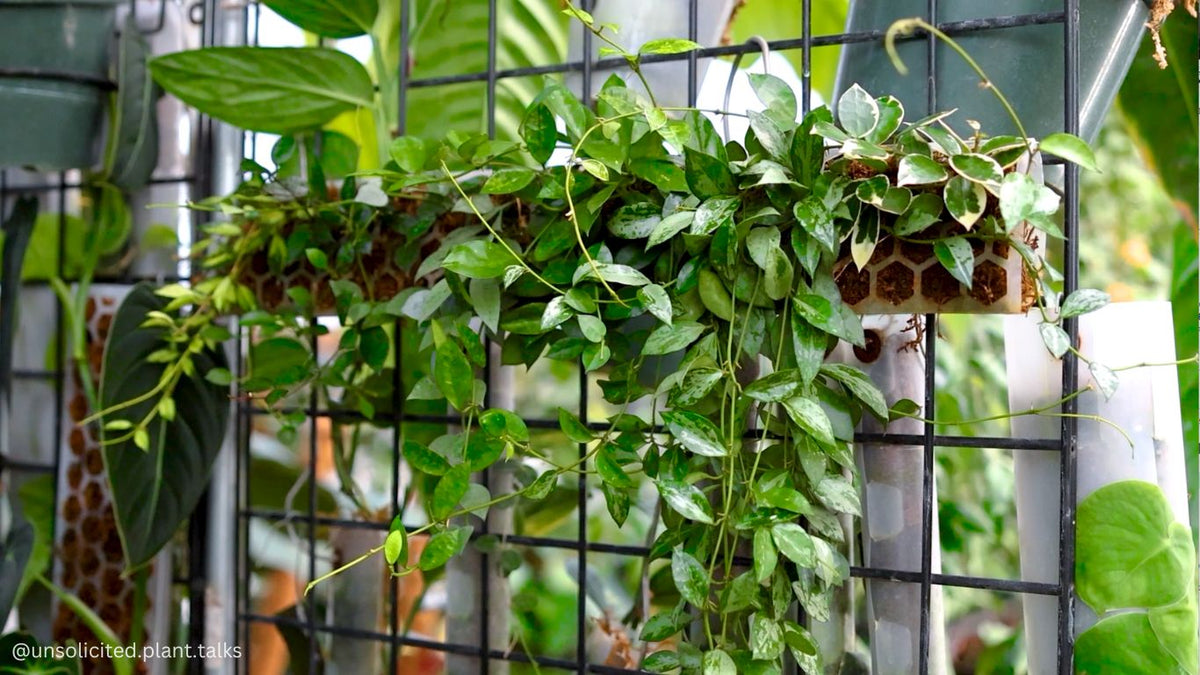
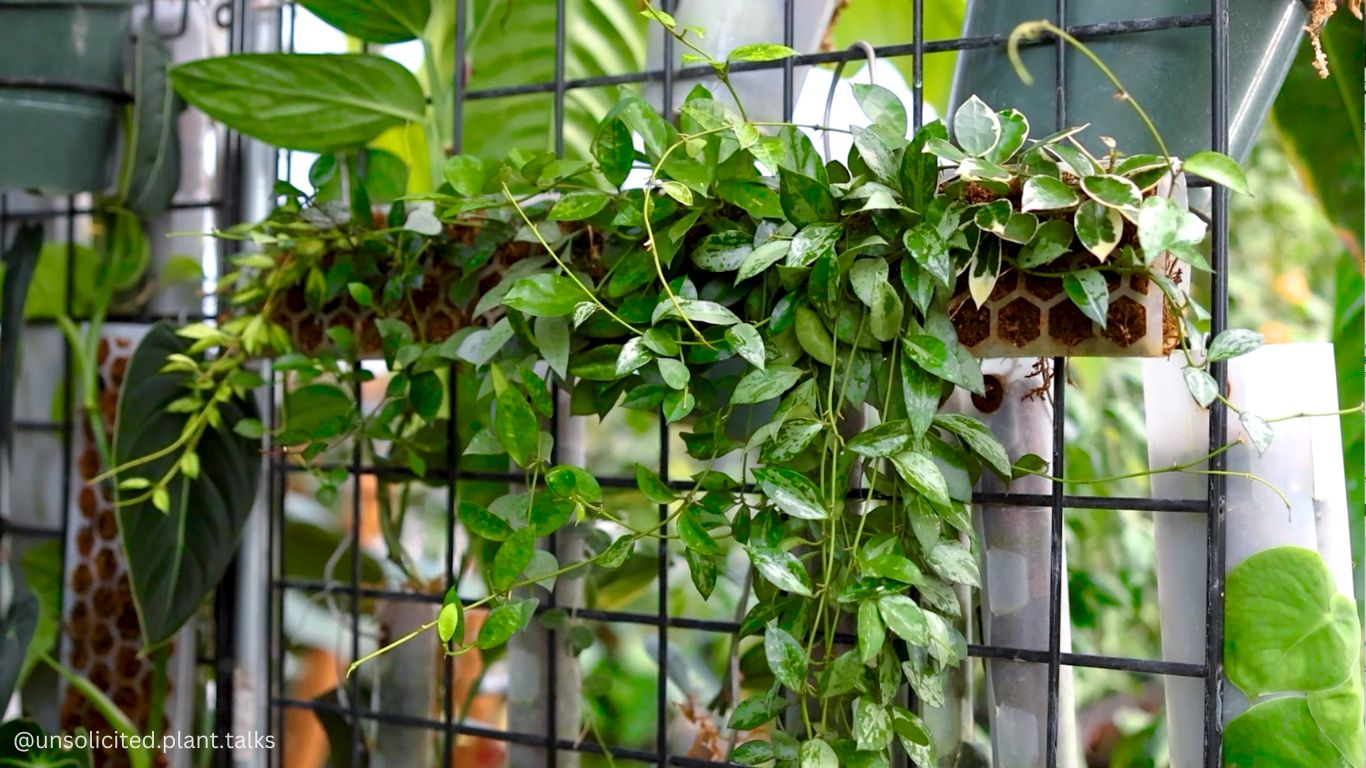
Certainly! For Hoya enthusiasts, a diy moss pole can be a real game-changer. Hoyas with their natural climbing nature latch onto moss poles with ease, using their aerial roots as footholds. Moss poles not only supports their growth but also highlights their cascading beauty in a vertical dimension. Furthermore, moss poles maintain the right moisture balance for Hoyas, ensuring their roots are hydrated but not waterlogged. It's a simple addition, but one that can significantly enhance the health and display of your beloved Hoyas.
Before you dive into making your moss poles, planning ahead is important for a successful project. It's not just about choosing indoor plants that look good together; it's also about the compatibility of care requirements. If one plant needs a lot of sunlight while another prefers shade, they might not thrive when placed on the same moss pole. So, make sure to select plants that have similar needs for light, water, and nutrients. This ensures that your moss poles will not only look great but will also be easier to maintain.
Additionally, planning ahead involves thinking about the long-term growth of your plants. Some plants might grow faster and overshadow their neighbors, while others might spread out and need more space as they mature. By considering these factors in advance, you can arrange your plants in a way that allows them all to flourish, avoiding future problems like overcrowding or uneven growth. This thoughtful planning sets the stage for happy, healthy, and visually stunning moss poles.
First things first, let's discuss what you'll need for this project.
· Grab some moss poles: This is the main structure where your plants will grow.
· Some shears for cutting: You'll need these to trim and prepare your plants.
· A medium like Coco husk mix: This is what you'll use to fill the moss pole.
· Sphagnum moss: This helps with moisture retention.
· Rooting hormone powder: This boosts the chances of your cuttings growing roots.
· Propagation Pins: These will help secure your plants to the moss pole.
Having all these things ready will make putting your moss pole together super easy.

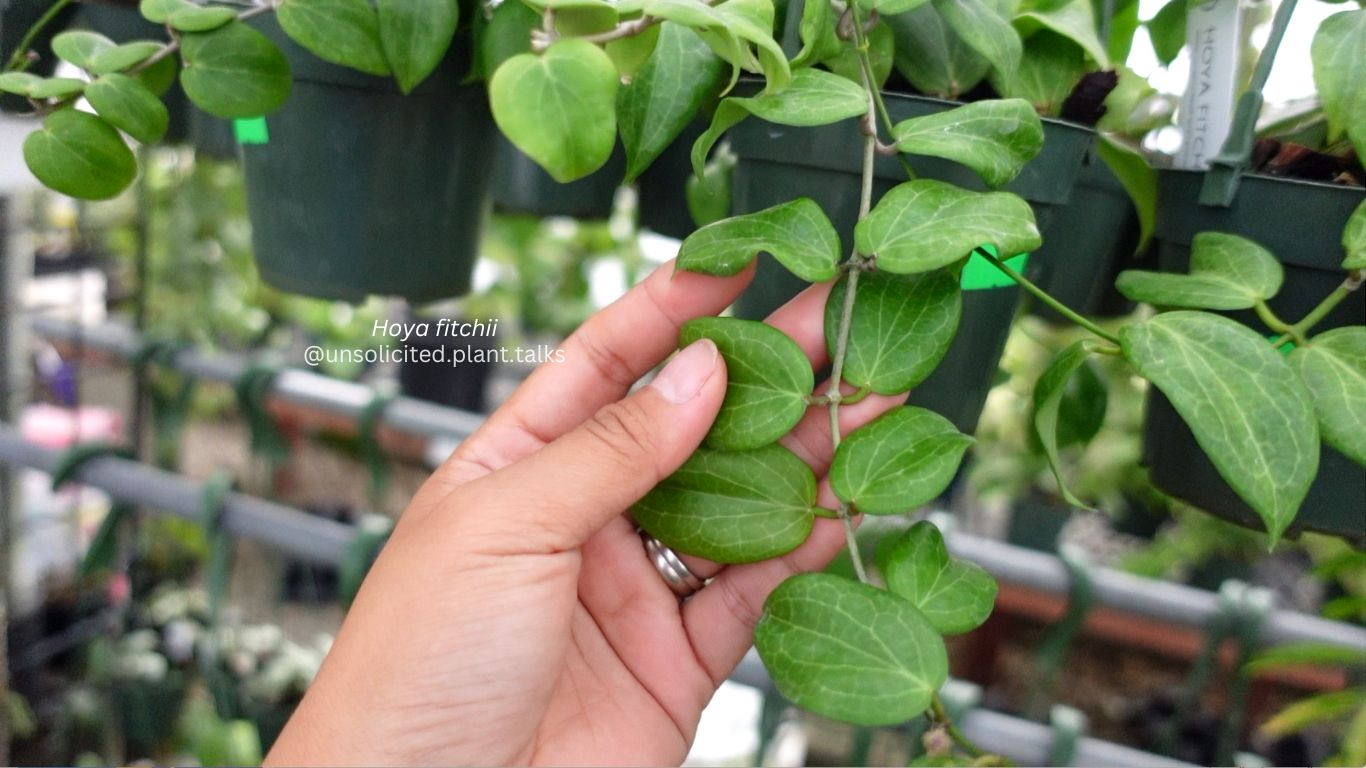
Now comes the fun part—choosing your plants! While it's tempting to pick solely based on beauty, like my fast-growing Hoya ‘Paula’(GN 001), it's crucial to consider how each plant will coexist with others. For example; while Hoya ‘Paula’(GN 001) is beautiful, its rapid growth could overshadow smaller plants like the Hoya sp. VL9. Picking the perfect plants isn't just about their immediate allure; it's also about understanding their growth habits to create a harmonious moss pole.
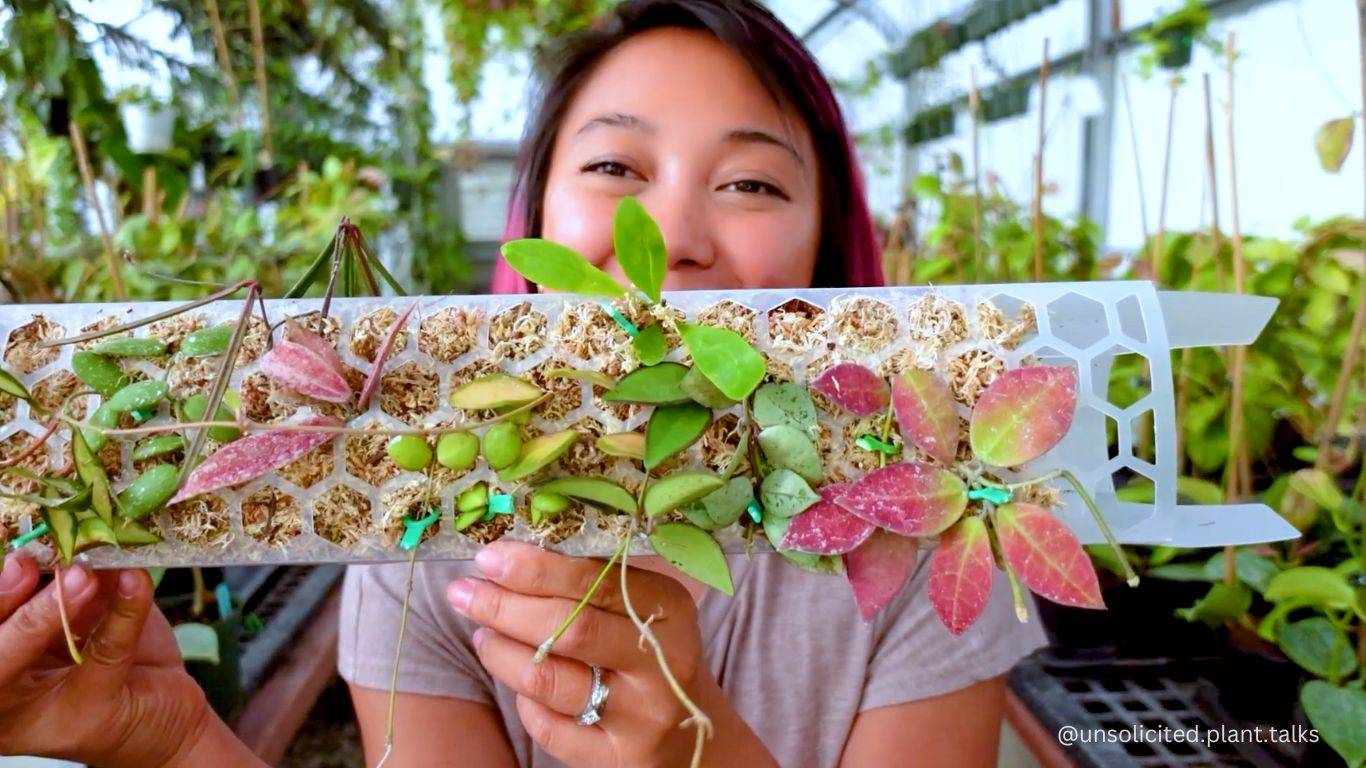
When you start assembling your moss pole, the placement of each plant is more than just an aesthetic choice. If you have plants that change to the same color when they get a lot of sun, consider placing them in different areas. This adds variety and makes your moss pole visually interesting.
But it's not just about looks; it's also about plant health. Think about each plant's sunlight needs and growth patterns. For example, plants that love sunlight should go higher up, while those that prefer shade can be lower. This way, you're not just making your moss pole beautiful, but you're also setting it up for long-term success.
Here's a pro tip: use rooting hormone to help your plants grow roots faster. Just dip the cut end of your plant into some rooting hormone before you place it on the moss pole. This little trick can really help your plants get settled into their new home.
After you've placed your plants, it's essential to make sure they're securely attached to the moss pole to encourage effective root growth. You can use our Propagation Pins for this, or you can even tuck the cuttings and the medium into the moss pole itself which will make it very easy for roots to grow.
If you're concerned about aesthetics, rest assured that these securing methods are only temporary. The pins can stay in place just until the cuttings have developed strong roots and have securely attached themselves to the pole or medium. Once that happens, you can remove the pins without worry. So while it may not look picture-perfect at the start, these are short-term steps to ensure long-term plant health and beauty.
Your moss pole might look a bit sparse when you first assemble it, and that's completely okay! It's important to remember that plants need room to grow, both upwards and outwards. Over time, your plants will fill in the empty spaces, creating a lush and vibrant vertical garden. The initial emptiness is actually a good thing; it gives your plants the space they need to spread their leaves and grow without competition for light and nutrients.
While it's tempting to pack in as many plants as possible for immediate fullness, doing so can lead to problems down the line. Plants that are too close together can compete for essential resources, leading to slower growth rates and potential health issues like root rot or pest infestations. So, as you place your plants, keep their future growth in mind. Give them the space they need to flourish, and you'll be rewarded with a thriving, beautiful moss pole in the long run.
Striking the right balance of moisture for your moss poles is crucial, especially when catering to Hoyas. Initially, focus on keeping the top layer of the moss pole slightly damp. Those fresh cuttings are seeking extra hydration to kickstart the rooting process. A daily misting or placing your moss pole in an area with higher humidity can do the trick.
However, as your Hoyas get cozy, establishing themselves and intertwining with the pole, your watering approach should change. Treat it like your other potted plants, ensuring the moss pole is neither too dry nor too wet. Remember, while Hoyas appreciate moisture, they're not fans of waterlogged conditions. Overly wet moss can invite root rot, a nightmare for any plant lover.
The frequency of watering will be influenced by your home's environment and the drying rate of the medium. Regularly check the moss pole's dampness and adjust your watering routine accordingly. Keeping an eye and a gentle touch will ensure your Hoyas remain happy and healthy on their mossy perch.
Creating a Hoya Moss Pole is more than just a fun DIY project; it's a rewarding journey that blends your passion for plants with the satisfaction of hands-on crafting. From selecting the perfect indoor plants to the joy of seeing them thrive on your hand made moss pole, each step is a fulfilling experience. The end result is a living piece of art that not only beautifies your space but also serves as a conversation starter among friends and family. It's a testament to your gardening skills and a daily reminder of your connection with nature, inspiring both you and others to explore the enriching world of indoor gardening.
If you found this guide helpful, why not share it with other plant lovers? And if you want to see each step in action, check out our video series for more tips and tricks.


