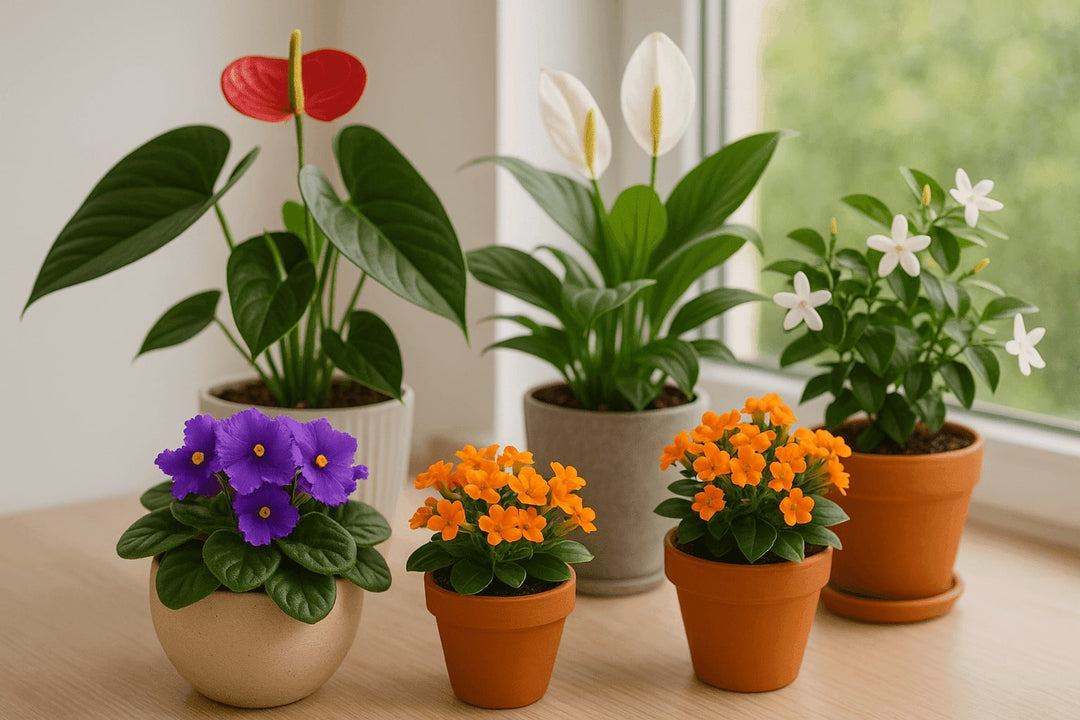
How to Repot a Hoya Plant
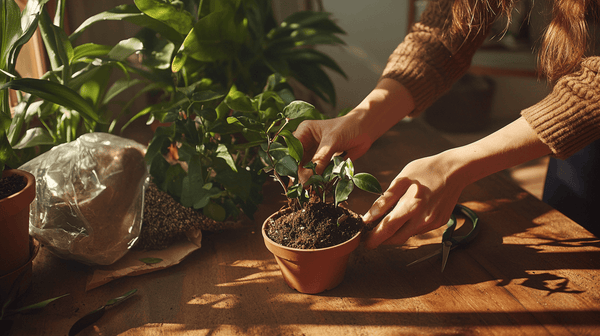
Table of Contents
- When to Repot a Hoya
- The Dirt on Pot Size & Soil Mix
- How to Repot a Hoya Plant Like a Plant Pro
- Repotting Recap
Your Hoya’s been doing its thing — climbing, trailing, maybe even showing off with a few blooms — and now you’re noticing roots sneaking out of the bottom of the pot or the soil drying out faster than you can say “sphagnum moss.”
That can only mean one thing: it’s repotting time.
Now, before you panic and start Googling “how to repot a Hoya plant” for the tenth time, breathe. We’ve done the Hoya repotting dance more times than we can count. And in a minute, we’ll show you how.
Whether it’s your first Hoya or your fifteenth, this is your no-fuss, no-fear guide to repotting like a pro.
When to Repot a Hoya
Let’s start with the most common question: “When should I actually repot my Hoya?” Spoiler alert: it's not as often as you might think.
Hoyas are slow-growing, thick-rooted divas. They like being a little root-bound and will often perform better (yes, that includes blooming) when slightly snug in their pots. So if you’ve been eyeing that cute oversized ceramic pot, you might want to hold off.
So, when to repot your Hoya? Every 2–3 years is plenty unless it's showing any dramatic signs.
Here’s how to tell it’s time to repot:
✔️ Roots are circling the pot or busting out the drainage holes like they’re trying to escape.
✔️ The soil dries out ridiculously fast (like, “I watered you yesterday, what do you mean you're dry?” fast).
✔️ Growth is stunted or the plant just looks... off.
✔️ The current soil has turned into a crusty, compacted mess or isn’t draining like it used to.
Does your Hoya tick any of those boxes (or, likely, more than one)? Repot.
|
🌱 Best season for a fresh Hoya pot? Spring or early summer — when your Hoya is actively growing and more likely to bounce back from the repotting shuffle. Try to avoid repotting in winter or while it’s in full bloom, unless it’s an emergency situation (looking at you, root rot). |
The Dirt on Pot Size & Soil Mix
Repotting isn’t just about giving your Hoya a new home — it’s about giving it the best home. And that means paying attention to two key things: how big the pot is and what kind of soil it’s sitting in.
Get these two things right, and your Hoya will be living its best life.
Picking the Perfect Pot Size for Your Hoya
If you’ve ever killed a plant with kindness (read: too much space and too much water), you already know: Hoyas do not like oversized pots. They prefer things a little snug — like the plant version of wearing your favorite skinny jeans.
Here’s the golden rule:
Go up just 1–2 inches in diameter when upsizing. That’s it. No more.
Why? Bigger pots hold more moisture, and Hoyas hate sitting in soggy soil. Extra space = extra water = sad, stressed roots.
|
🌱 UPT Pro Tips:
|
Choosing the Right Soil for Hoyas
Okay, let’s talk soil.
Hoyas are semi-epiphytic, which means they naturally grow in tree nooks and crannies, not in dense ground soil. They need their roots to breathe, stretch, and stay dry between waterings.
Well-draining, chunky, and breathable is the name of the game.
Use the following potting mix, then jazz it up:
-
1 part potting mix
-
1–2 parts chunky stuff (perlite, orchid bark, pumice)
What can you use, precisely?
-
Cactus & Succulent Mix: A decent shortcut, but boost it with extra orchid bark or perlite for Hoya-friendly drainage.
-
Orchid Bark: Amazing for airflow. Just be sure to pair it with moisture-retaining ingredients like coco coir or worm castings.
-
Coco Coir: Sustainable and fluffy. Combine it with perlite or bark to prevent compacting.
-
Perlite: Light and airy — perfect for drainage, but not enough on its own.
-
Soilless Mixes: Some blends (like aroid or Monstera mixes) can work great. Just double-check for soggy ingredients and add bark or perlite as needed.
|
🌱 DIY Hoya Soil Recipe Want to customize? Here’s a foolproof DIY blend:
Mix it up, lightly moisten it, and boom — your Hoya’s living that high-drainage lifestyle. |

How to Repot a Hoya Plant Like a Plant Pro
This doesn’t have to be a whole thing. Repotting a Hoya is less “open-heart surgery” and more “spa day with a side of root refresh.” Here’s how to do it right:
What You’ll Need
First, gear up! Prepare:
-
Your pot;
-
Chunky, well-draining potting mix;
-
Clean scissors or pruning shears;
-
Water;
-
Optional: cinnamon (it helps heal minor root wounds).
Repotting a Hoya Step-by-Step
Step 1: Prep the Pot
You want your Hoya to sit at the same height in the new pot as it did in the old one — not too deep, not perched on a mound.
How to do it: Add a base layer of your chunky soil mix to the bottom of the new pot. This creates a cushion and helps you gauge the final planting height.
|
🌱 Pro tip: If your Hoya is used to being root-bound, it may need a little convincing to spread out. Use your fingers to fluff and level the soil. Think of it as setting the table for new roots. |
Step 2: Free the Roots
Removing the plant from its pot without damaging roots helps reduce transplant shock and makes it easier to assess the root health.
How to do it: Gently tip the plant sideways or upside down while supporting the base. Squeeze the pot to loosen things up. If it’s stubborn, you can run a knife along the inside edge or give the base a light tap.
|
🌱 Pro tip: If your Hoya is really root-bound (we’re talking root burrito), try soaking the whole root ball in lukewarm water for a few minutes. It’ll loosen the soil and make untangling easier. |
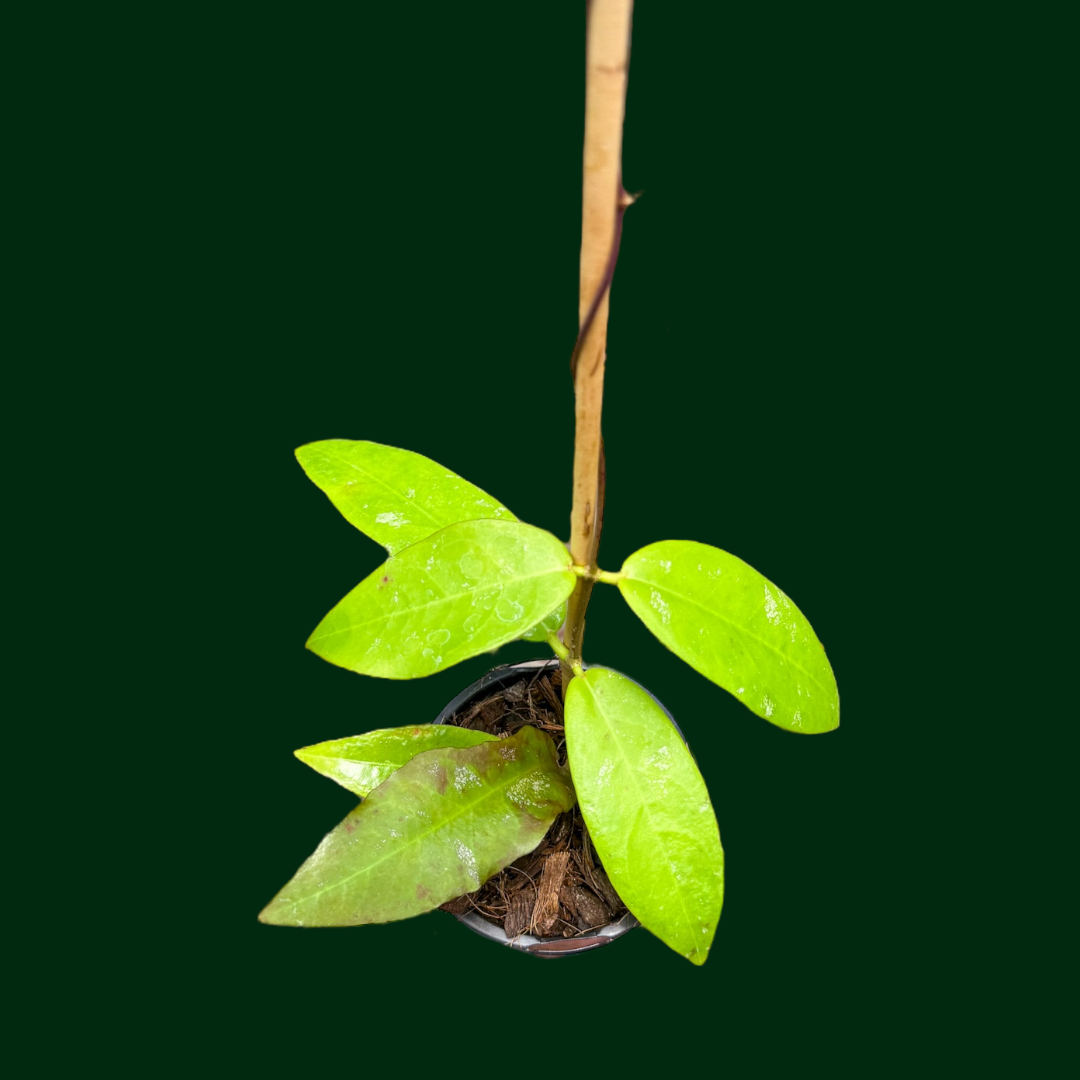
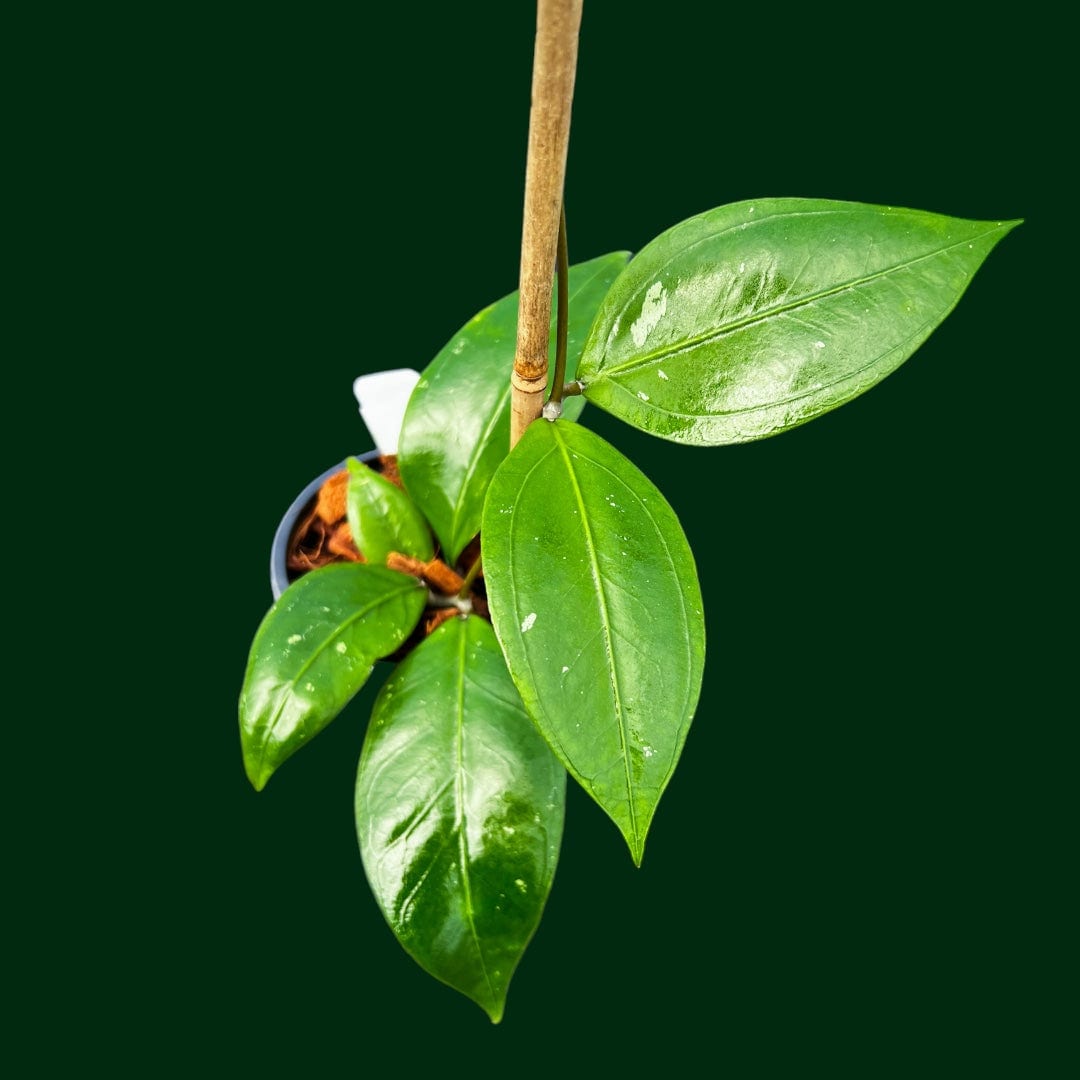
Step 3: Inspect the Roots
Healthy roots mean a healthy plant. You want to remove anything rotten or mushy so those good roots can focus on growing, not recovering.
What to look for:
✅ Healthy: pale, firm, slightly plump
❌ Unhealthy: black, mushy, or hollow-feeling
How to clean it up: Use sterile scissors or shears to snip away any dead or damaged roots. Be gentle — Hoyas don’t need a root haircut unless it’s necessary.
|
🌱 Pro tip: Dust root cuts with a pinch of cinnamon. It acts as a natural antifungal and helps wounds heal faster. Bonus: it smells amazing. |
Step 4: Plant it Up
Positioning your Hoya correctly helps it establish quickly and prevents issues like rot, leaning, or buried stems.
How to do it:
-
Hold the plant in place with one hand.
-
Fill in around the roots with soil using the other.
-
Gently tap the pot on the surface every so often to help soil settle naturally around the roots — no squishing or compacting!
Don’t bury the stem too deep. The original soil line should be your guide—burying above it can lead to stem rot.
|
🌱 Pro tip: If your Hoya is top-heavy or trailing, now’s the time to add a support stick, moss pole, or trellis. It’s easier now than after the soil has settled. |
Step 5: Water It In
Watering helps settle the soil around the roots, eliminates air pockets, and gives your plant a soft launch into its new digs.
How to do it: Use room-temperature water and pour slowly around the edges of the pot. Don’t drench it — just moisten enough to unify the soil and give the roots a gentle wake-up call.
Skip the fertilizer. Your Hoya’s in recovery mode. Wait 2–4 weeks before feeding to avoid stressing freshly trimmed or adjusted roots.
|
🌱 Pro tip: After watering, let your Hoya rest in a warm spot with bright, indirect light. It’s like post-massage quiet time — let it settle before resuming its regular routine. |
Repotting Recap
Repotting is more than a chore — it’s a chance to reconnect with your plant and give it what it needs to flourish. When done with care, it sets the stage for new growth, better hydration, and even those elusive Hoya blooms.
So grab your gloves (or not—this is a judgment-free jungle), turn on your favorite planty playlist, and repot with confidence.
👉 Looking to expand your Hoya family? Browse our store and find a new addition to your indoor jungle!